
Home
Visitors Center
Broom Lore
Special Events
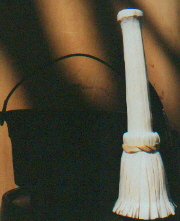
Corn Broom
Made from broom corn fiber; a plant in the sorghum family. An annual row crop that can exceed 12 foot in height. May be ordered trimmed as in this image; left untrimmed (witches broom) or trimmed and stitched flat (This style could be called a transitional broom in that the very early common round broom has simply been stitched flat without the shoulders of the later Shaker style) About 60 Inches. Please Email special requests.
Priced at $30.00 + S&H
Note: I am now using carpet tubes for shipping via USPS and have been able to avoid their "balloon" rate for long oversized packaging.
Birch Brooms
Although yellow birch is preferred by this maker for the large size floor broom, witch hazel and hickory can also be used. Have been told recently that white oak could also be used but haven't tried it yet. The individual wood fibers are peeled; one at a time from freshly cut wood. Called "Indian" brooms; peeled or splinter brooms by some, they were being made by our earliest settlers at least by the mid 17th Century from trees up to 6 inches in diameter; using techniques they had learned from the Native Americans. Bound with rawhide.
Sizes vary. Priced $45.00 to $250.00 + S&H depending on size. Let me know.........
Birch Scrubber
Yellow birch and witch hazel are preferred but have used hickory. Seemed to be quite common through the latter part of the 18th Century. Same technique as in the birch brooms. Bound with a strip of yellow birch.
About 10 inches. $25.00 + S/H
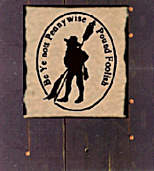
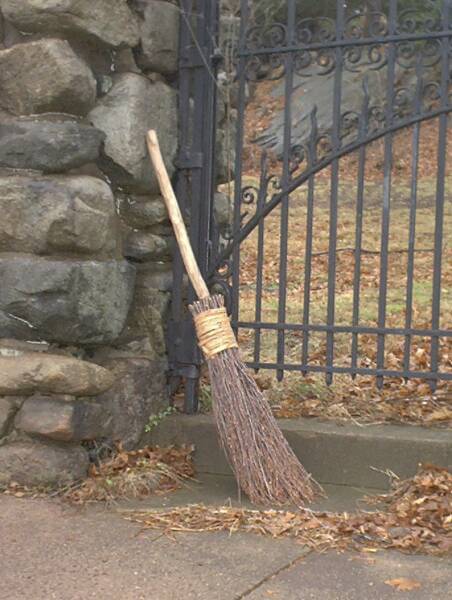
Beesome of Byrche
This is a very old style broom. Many visitors at various events; state that they have seen them throughout Europe where they are still being made. They were being made here by our earliest settlers. Gray; white; yellow and black birch are used. I usually use the inner bark of the hickory tree to bind the branches and a sharpened birch handle (about 1&1/2X36") is then driven down into the bound bundle while the soaked hickory binding is still flexible. This allows the binding to shift a little as handle is inserted. The handle is called the "tail" Inserting the handle is "tailing" the broom. I always invert the broom and while holding the brush; guide the handle into the bundle while tapping the end of the handle on a chopping block. It's important to first mark the handle& bundle so the peg hole can be relocated. Just lay the handle on the outside of bundle and make a couple marks. After the handle is sharpened and inserted it is then "nailed" with a sharpened wooden peg (slightly larger than the hole) driven into the predrilled hole just above the lower binding; splitting; expanding and tightening the handle inside the brush.
I first strip the bark from the handle; drill a 3/8 hole about 6 inches from the end; split the handle with ax or froe down to and just past the hole and then sharpen from hole down with ax or drawknife. At this point it looks like a garden stake. (pre-splitting makes it a lot easier to drive the peg in later without destroying the broom!)
That's about it. The hardest part of the whole process is gathering all those darn branches. About 80+ 30 inches long for each besom. Since most of my birch is rather bushy; I pull the whole bundle through a large hole in a board to compress the branches and spiral wrap with twine to secure. (make a smooth leading edge on the hole so branches slide through without damage.) I then stack the bundles like firewood in the barn until I can get toit..... Just prior to placing the binding I further compress the bundle at the binding point. Use whatever technique works for you. I often use a rope tied to a beam with a formed loop just touching the floor. Wrap the rope once around the bundle; step into the loop and press down. You can also place the bundle in your lap and compress by pulling the binding tight. Have tried different techniques to make these and above works best for me.
These average 60 inches. $50.00 + S&H (In and out of stock depending on source of birch. Expect to have some available for 2013.)
The Making of a Birch Scrubber
"Buy a broom
to clean your room,
your parlor or your hall. Your bedroom neat,
'twill sweep complete.
Your kitchen, large or small."
Attributed to Moses Morse of Plainville, CT. Maker and peddler of wooden ware and brooms in the early 19th Century.
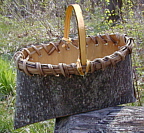
I have a few of these tulip bark baskets. Priced $25.00 to $100.00 + S&H
Currently taking credit cards through PayPal (go to www.paypal.com and utilize my alternate email address
rclarkaborn@gmail.com for payment.) Will also take money orders and checks (which take a while to clear.) Let me know what you are looking for and I will calculate cost and postage to your area.
Note: I do not claim to make THE type of wizard broom featured in recent movies; but the birch besoms that I have been making for about 10 years look REALLY close. Currently out of stock.
Snail mail:
Robert Aborn
21 Upper Butcher Rd.
Ellington, CT 06029-4301
Phone: 860 870-5200
Product Sales
I try to keep at least two of these large peeled birch floor brooms available. They take from 6 to 16 hours to make. Finding clear; unbranched yellow birch trees in this size has been a problem. If you are interested in this type of very early broom please Email.
Not: none in stock as of 3/1/10
Many of you have asked about our facilities and staff. Please click the button for a full tour....
This page was last updated on: July 22, 2014
I have had several requests to reproduce or repair early brooms or brushes. I now stock both horsehair and hog bristle. I also have a good supply of fine palmyra (palm fiber) and Tampico (a Mexican cactus fiber) Tampico was used historically for oven cleaning and horse grooming brushes. Very heat resistant and holds water well. Most of our modern wallpaper and basting brushes still utilize tampico fiber.
Send a photo and measurements for a quote.
Notes on peeling yellow birch; witch hazel and hickory:
For the little scrubbers I start with a green 1 1/4-1 1/2" piece of yellow birch; witch hazel or hickory about 10" in length. (Ideally; a piece without knots or branches would be preferred) I have found it easier to work with a 3 or 4 ft stick and keep making them until it's used up. Cutting each scrubber off when done. I remove about 3 1/2" of bark and then peel thin strips down. Rotate the stick as you peel. Do not concentrate on one side (Make a little cut and peel with fingers) When only the heartwood is left reach down into the brush; cut and remove this piece. Bind this section tightly. Leave a 1/4 to 1/2" bark ring. Above this ring, remove bark for the second phase; the handle and the rest of the brush.. A good rule of thumb is to remove bark at least 1 & 1/2 times the length of the first peeled section. Keep peeling this section down until you are comfortable with the handle and shoulder size.
Fold down over the first section. Their should be a nice shoulder. Bind tightly in two or three places and let dry. After it has "set" bind permanently just below the shoulder; generally where the strip of bark had been left. Anything can be used for binding. I use long discarded strips from the larger brooms (you'll have lots) for binding the scrubbers and rawhide strips for the larger brooms. Trim any excess.
On the larger trees I may start the first phase by removing about 16" of bark from a 3"; 4" or 5" tree. For the second phase of these larger trees start peeling at least 1 & 1/2 if not twice the length of the first phase. Note.... the peeled strips will stack upward as they are peeled down. Allow for this. Don't come up short at the end. Wrap with wet newsprint and plastic to keep moist between work sessions. If this stock dries put it aside for another project (like chair legs or a campfire!)
Note: The first few strips of wood will usually peel off short. Just drop and keep at it. On the larger brooms I end up with a big pile of discarded strips; some of which make nice kindling for getting the forge going or binding the small birch scrubbers. These strips get progressively longer as you get deeper into the stick. It's a happy moment when they stay on all the way down to where you want them.
Little pin knots (tiny branches) are not a big problem but large branches/knots are difficult to peel around. If one branch is a problem in an otherwise good stick; cut the stick/tree so that the branch will end up buried under the shoulder of the broom (where the strip of bark will be left between phase 1 & 2). Cut off short; peel up to it and fold the second section down over it. Give some thought to this prior to cutting the tree. This work can be accomplished at any time of the year except when stock is frozen. If weather has been dry; cutting after a rain can help. Placing the stock in a bucket of water can extend the working time if you can't get to it right away. Once the bark is removed the stick dries quickly.
I have tried to cover all the mistakes I made while learning this craft.
Good luck and please do not hesitate to ask questions via email button above.

(see notes at bottom of page)
Note: Disney Productions has purchased a few of these besoms for Pirates of the Caribbean 2&3
"BUY BROOM BEZZUMS"
Mr. Andrew Cadie of the UK was kind enough to record the tune now being played and send it across the pond. Mr. Cadie retains ownership of the performance and arrangement. He performs this and other tunes with the group Roll A Penny in the UK www.rollapenny.co.uk
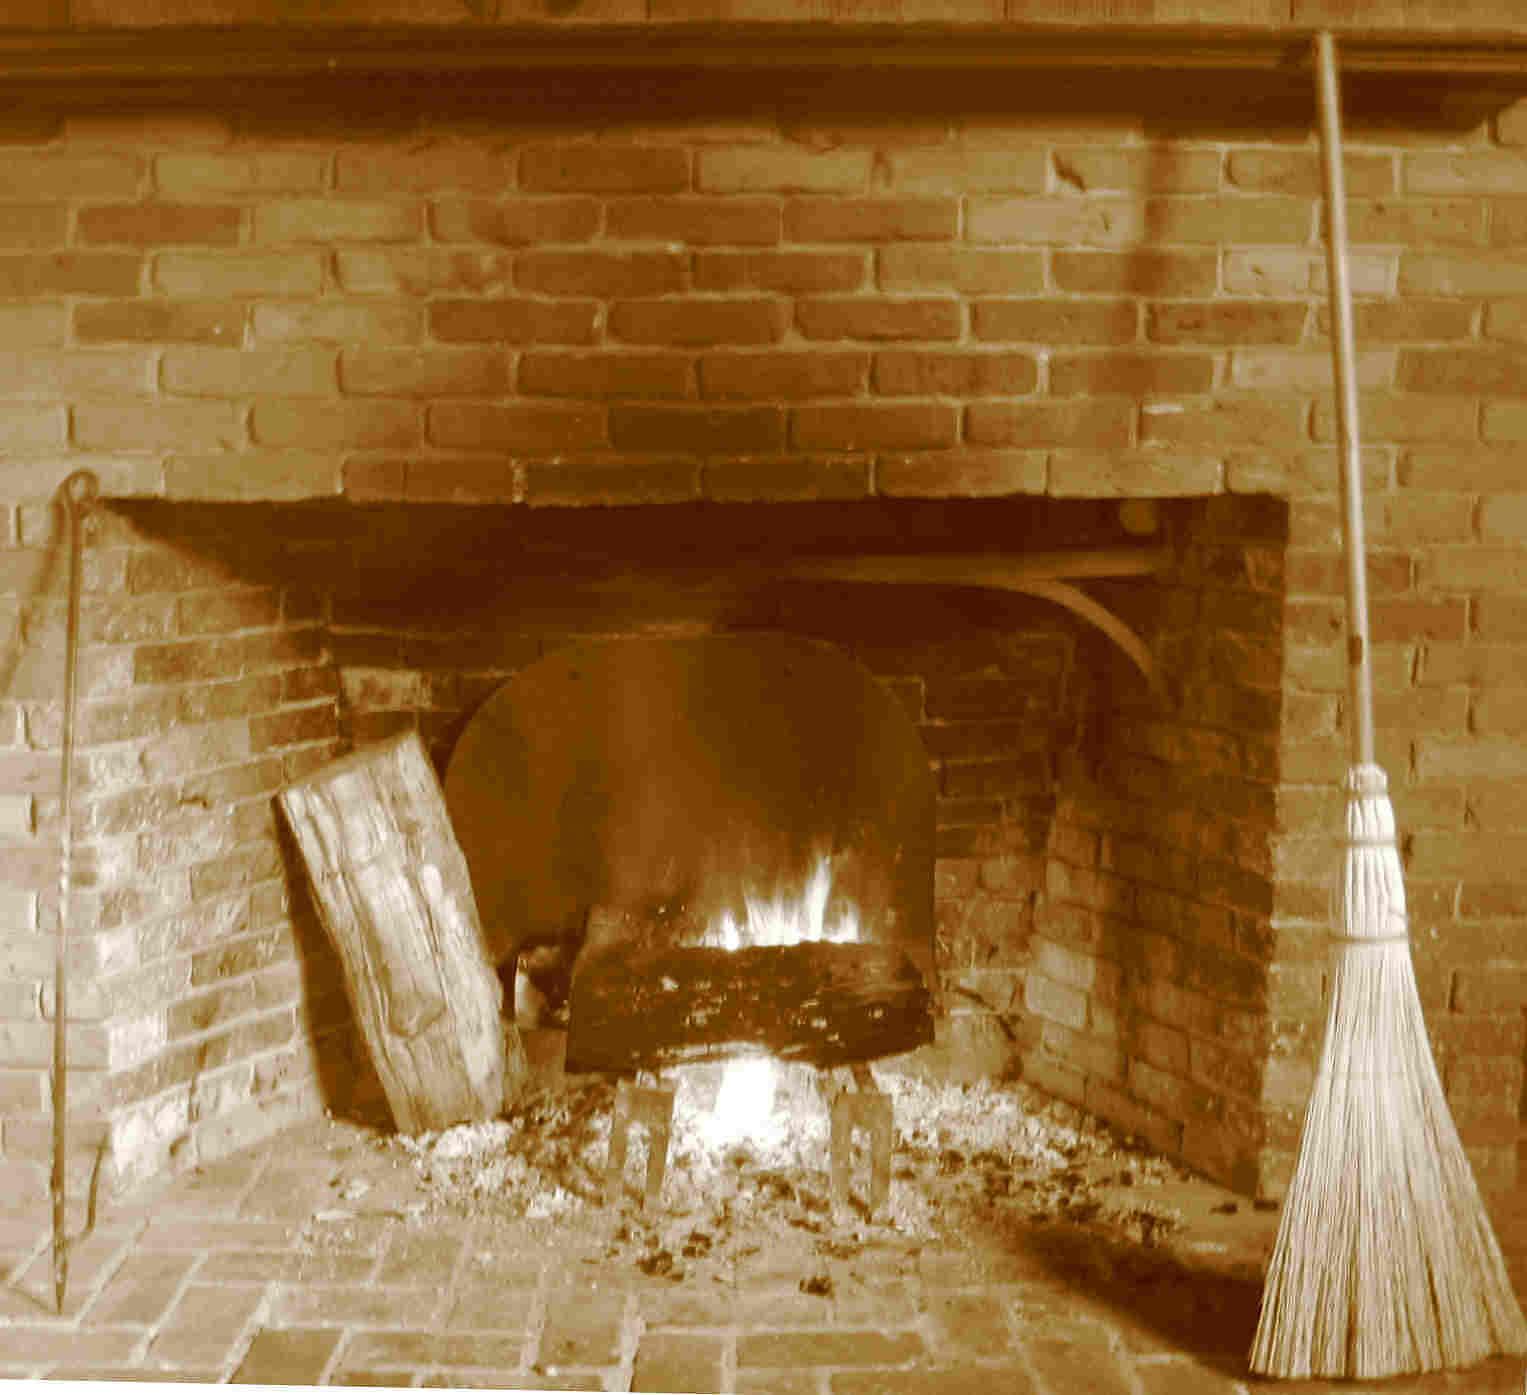
"The Open Door"
by William Henry Fox Talbot, salt print from a calotype negative, April 1844 in the UK. (Private collection)*
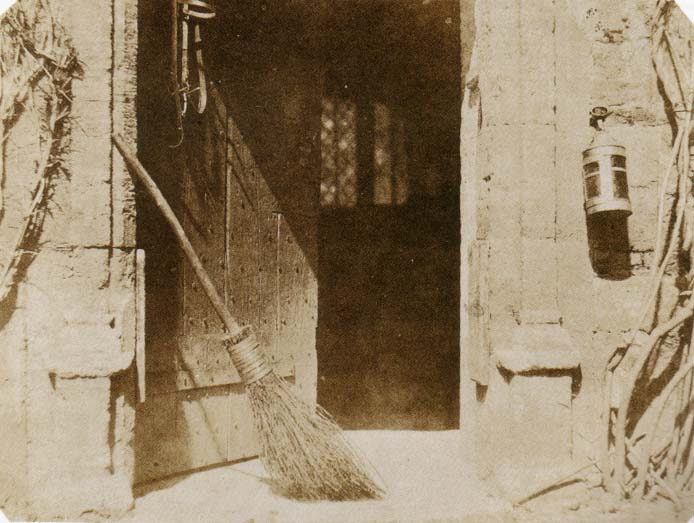
* Note: The collector has generously granted permission for the use of above photo on this website.
Custom made to duplicate the appearance of the besom for the collector of the 1844 Talbot photo below. 1/06
William Henry Fox Talbot
Information to be added........
Thanks Andrew, Bob
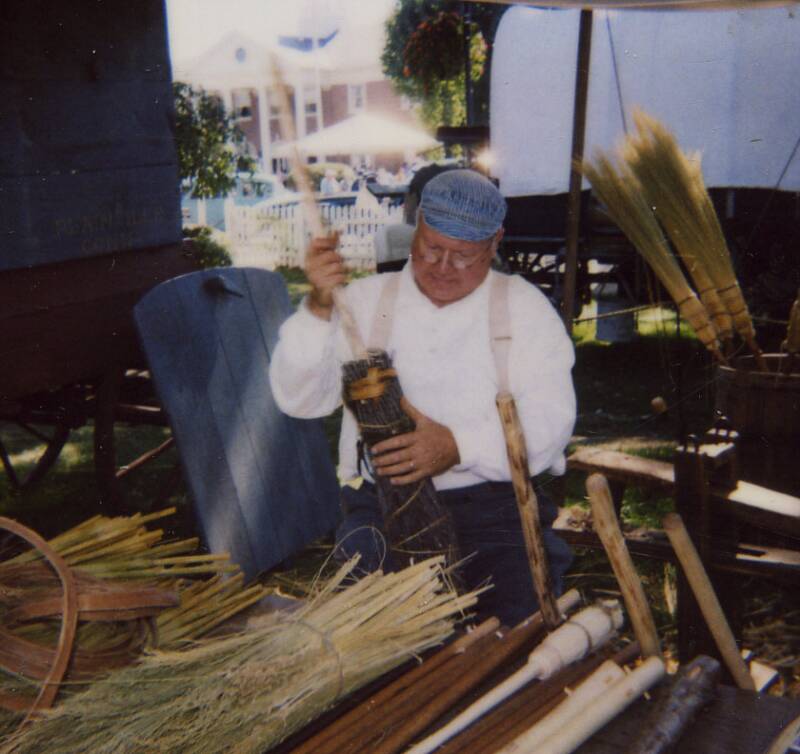
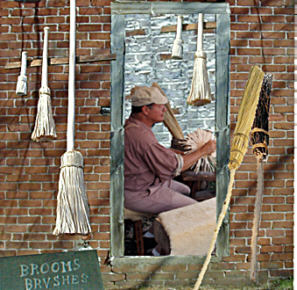
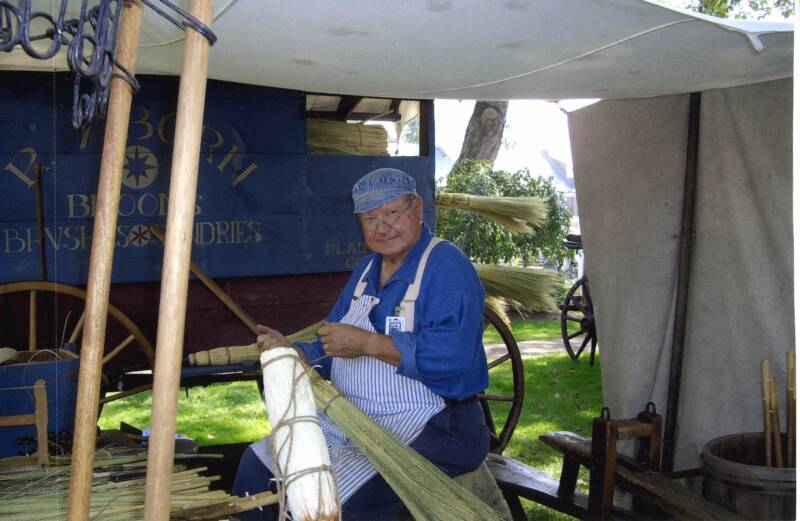
"Tailing" a besom. The sharpened pre-drilled handle is started into the tightly bound bundle. The besom is then turned over and the handle is driven in using the weight of the brush and pressure from the arms while pounding it on a block of wood. This is continued until the pre-determined depth is reached. Note the binding. Additional coils of hickory binding strips on lower left with broomcorn and a recently peeled birch broom on the table to the right.
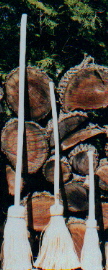
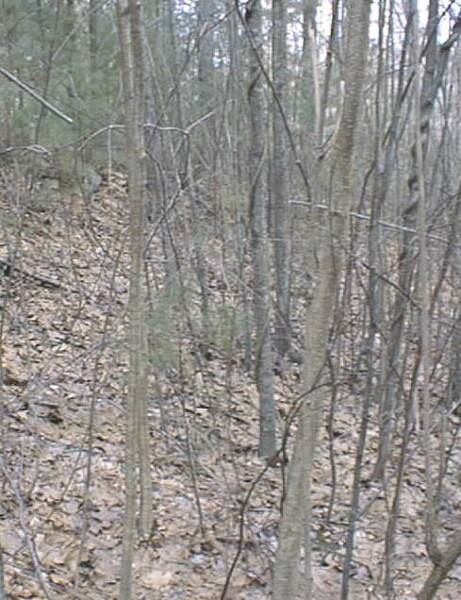
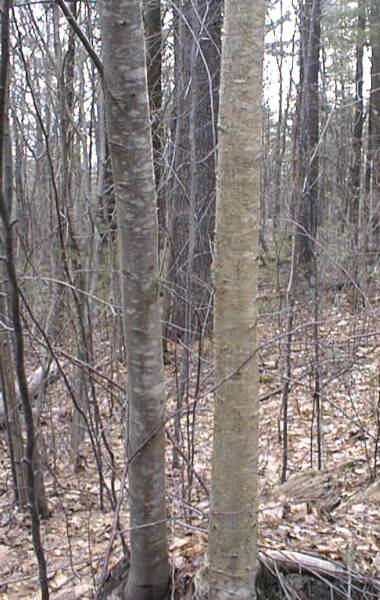
A nice stand of yellow birch pot scrubber stock on left. On the far right is one nice 5 inch yellow birch with nearly 8 feet of trunk without branches. (Black Birch to it's left) These were located just prior to a major snowstorm on 2/11/06. Will cut the large one in April and the others as needed. Note the nice twisted birch on far right of photo on left. Have plans for that!
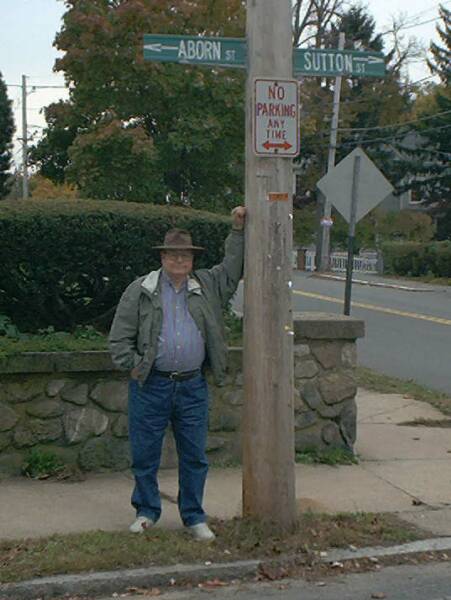
Exploring the family roots in
Salem, MA
Historic records indicate that my ancestors came to the Salem area around 1635
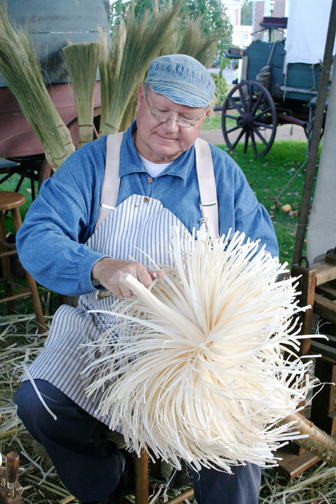
Peeling a birch broom; step one.
Thanks to Ms Shelia Cabral of MA for this 2006 photo taken at the Eastern States Exposition.

Three of my brooms: In the round; stitched flat and one piece peeled yellow birch